Configure SCIM - Okta
This guide describes how to sync users and groups to Row Zero with Okta using SCIM (System for Cross-domain Identity Management). Once set up, any users or groups assigned to the application in Okta will automatically sync to Row Zero.
NOTE: Before configuring SCIM, determine the SSO solution you plan on using.
- If you are planning to configure SSO through SAML, please follow the instructions in Single Sign-On (SSO) - SAML (Okta) first.
- If you've already configued Okta to use SAML for SSO, skip to Step 2.
docs/scim-okta#step-2-configure-the-scim-connection
Step 1: Create the SAML Application with Provisioning
-
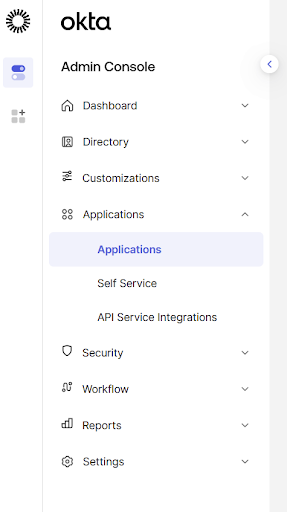
In the Okta "Admin Console", navigate to "Applications --> Applications"
-
Click on the "Create App Integration" button:

-
Select "
SAML 2.0" and click the "Next" button: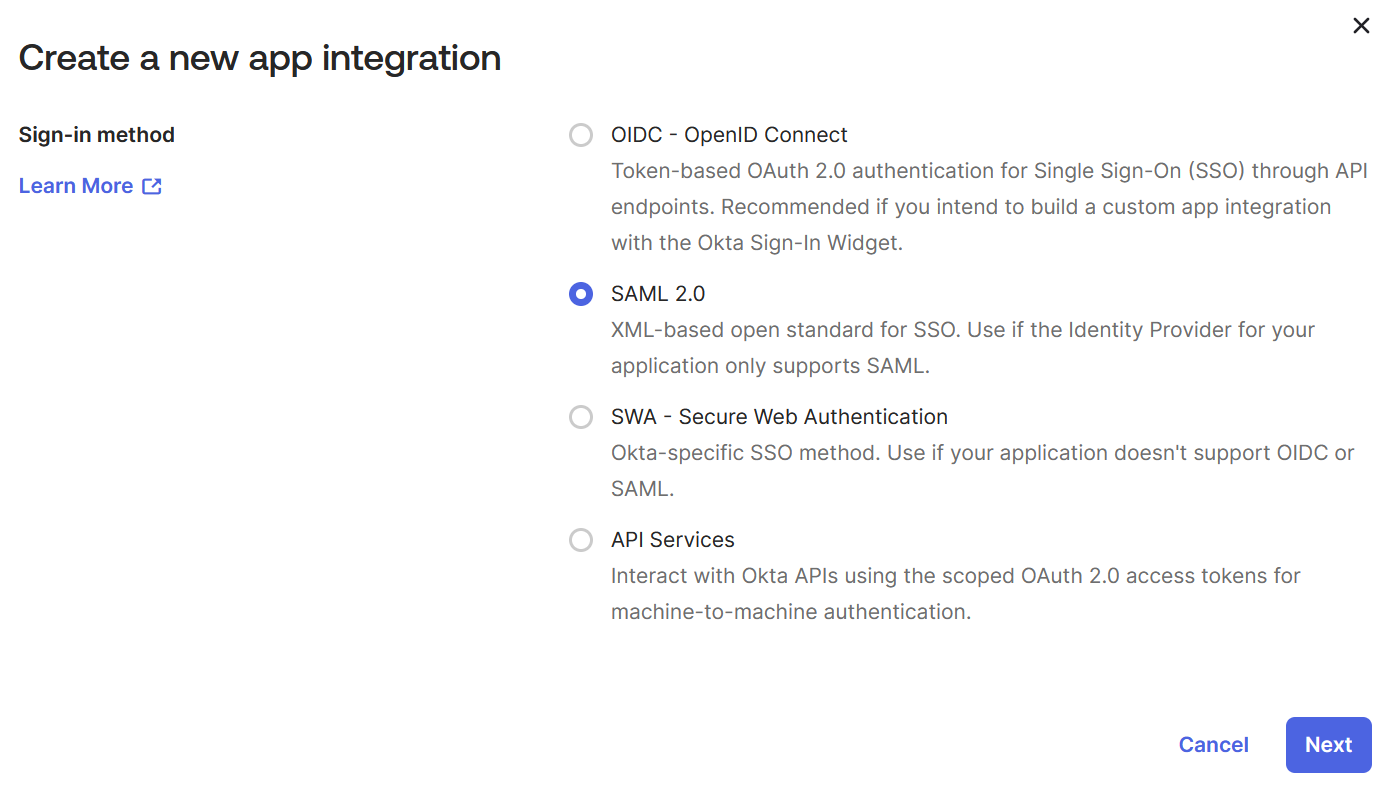
-
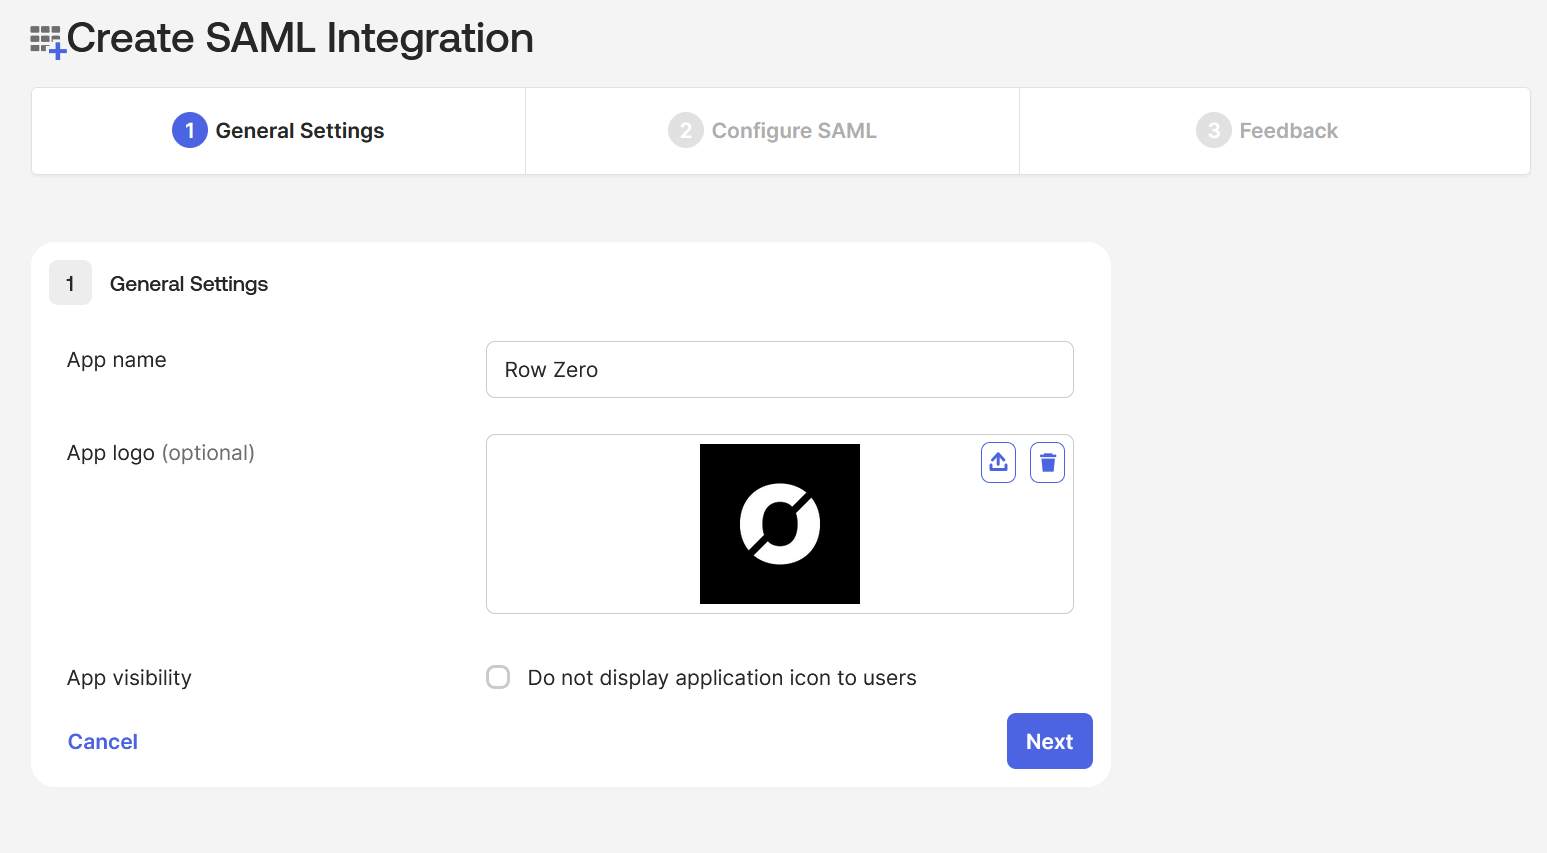
In the "Create SAML Integration" page, provide the following:
-
For the "App name" type "
Row Zero" -
Find Upload new logo. You can click this link to download the Row Zero logo, and then upload for "App logo"
-
Leave the "Do not display application icon to users" unchecked
-
Click the "Next" button
-
-
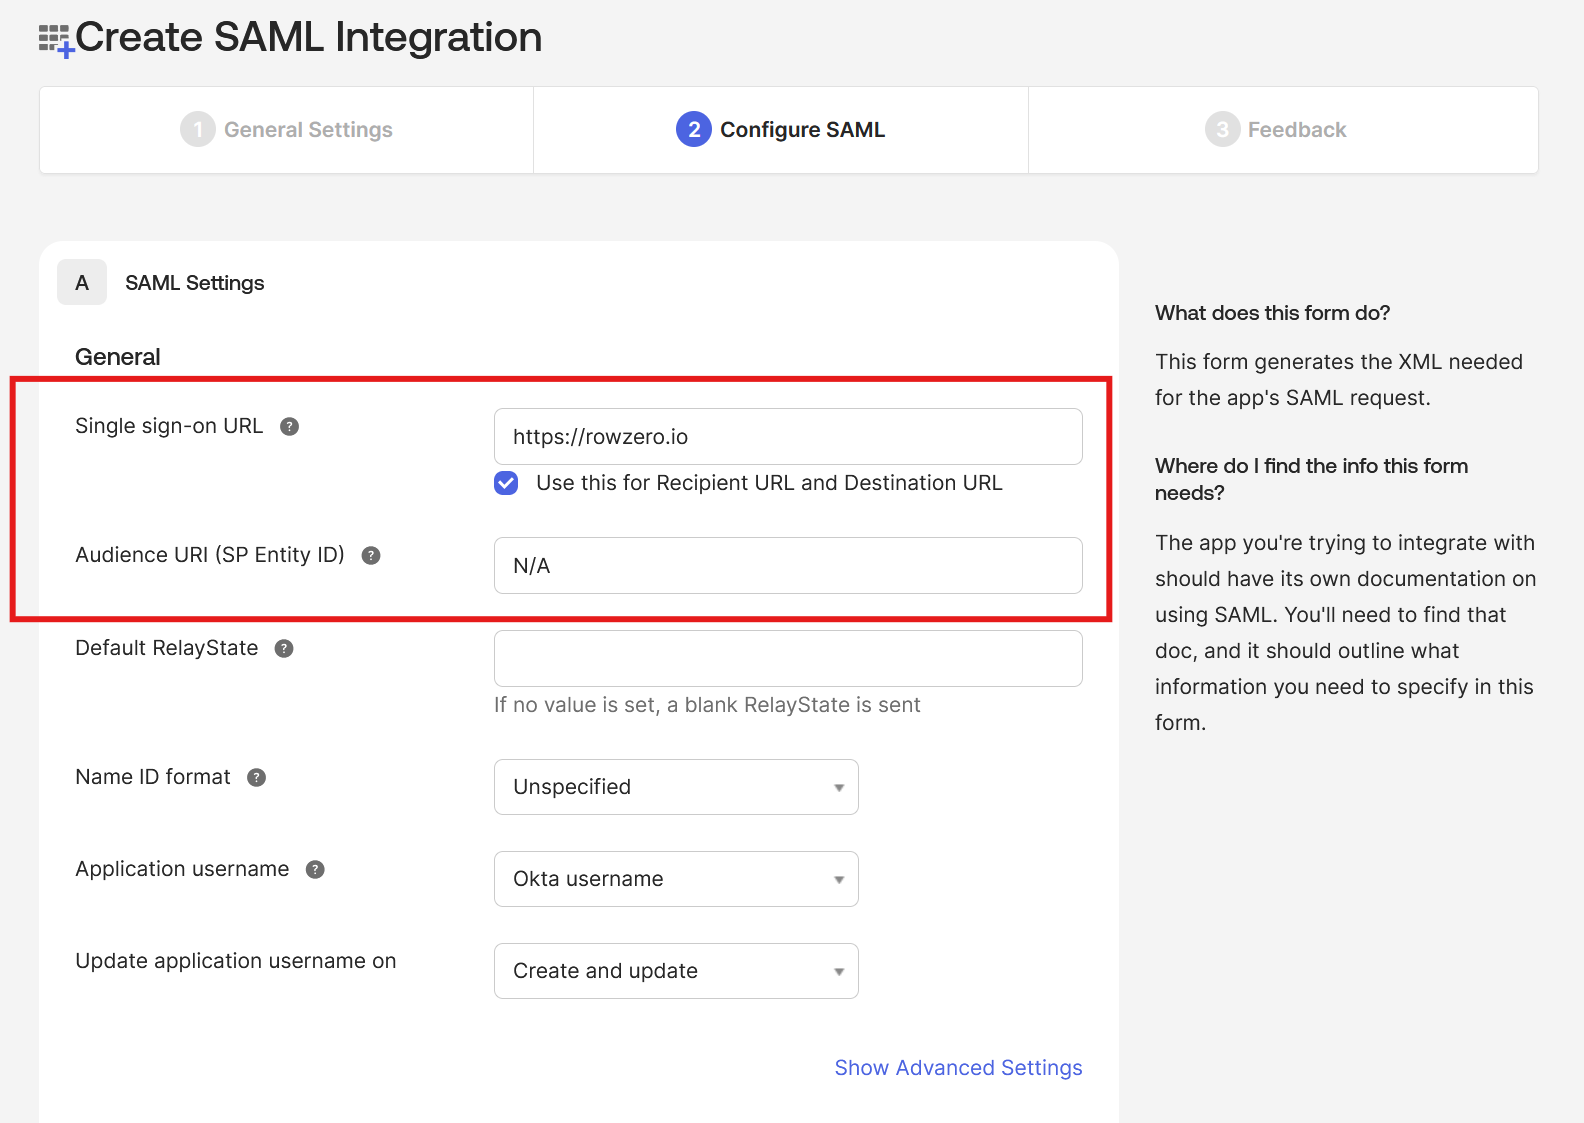
For the "SAML Settings" - "General" page, provide the following:
-
Leave the "Use this for Recipient URL and Destination URL" checked
-
For "Single sign-on URL" type "
https://rowzero.com" -
For "Audience URI (SP Entity ID)" type "
N/A" -
Click the "Next" button
-
-
Click the "Finish" button:
Step 2: Configure the SCIM Connection
-
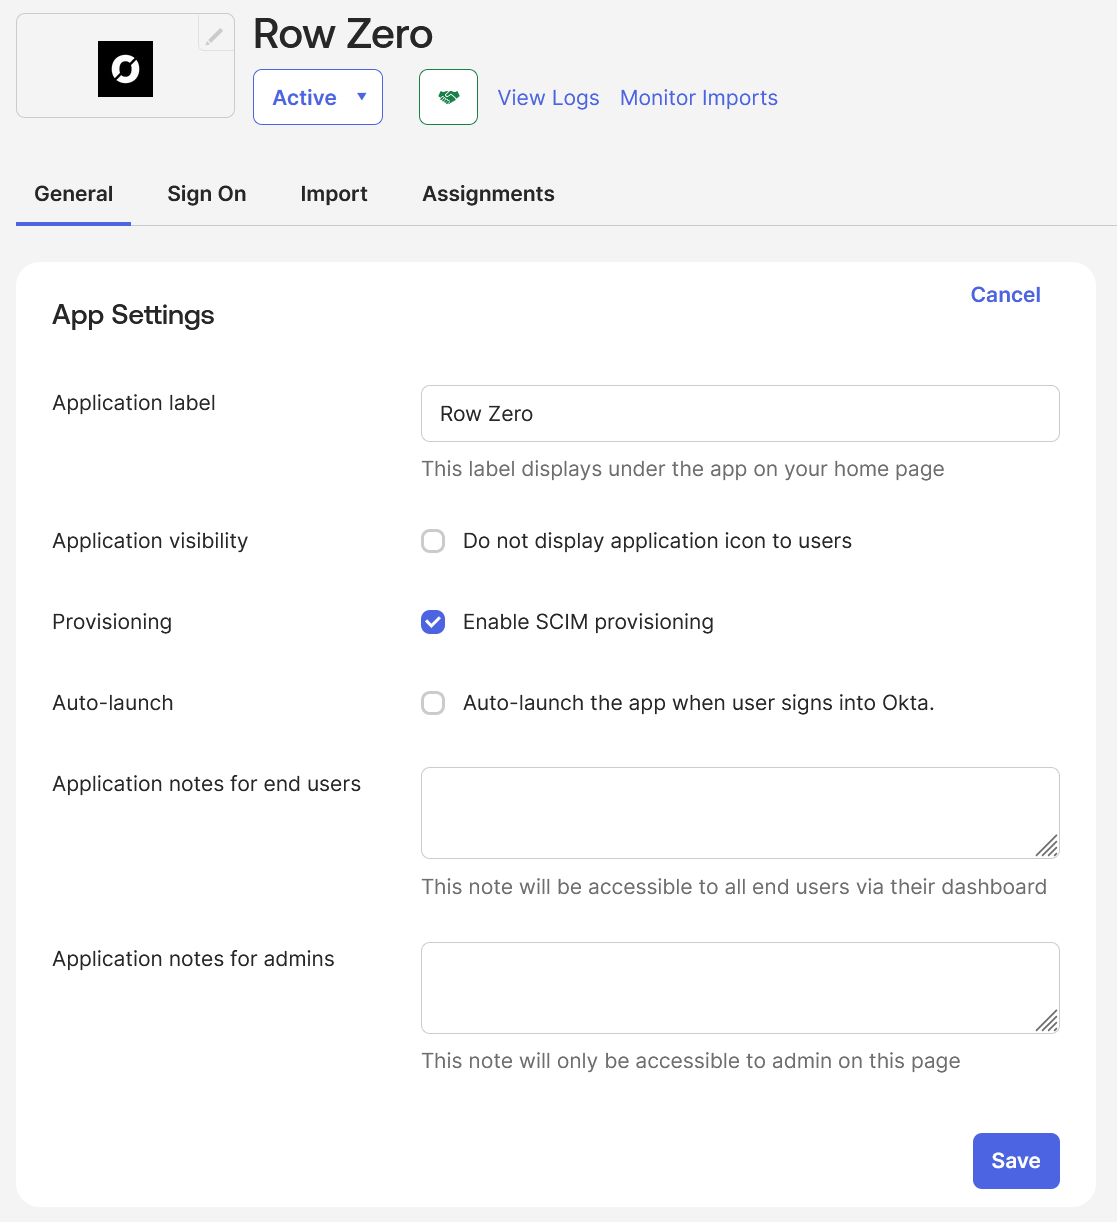
In the "Row Zero" application, on the "General" tab, click the "Edit" button:
-
For "Provisioning" select "
Enable SCIM provisioning" -
Click the "Save" button
-
-
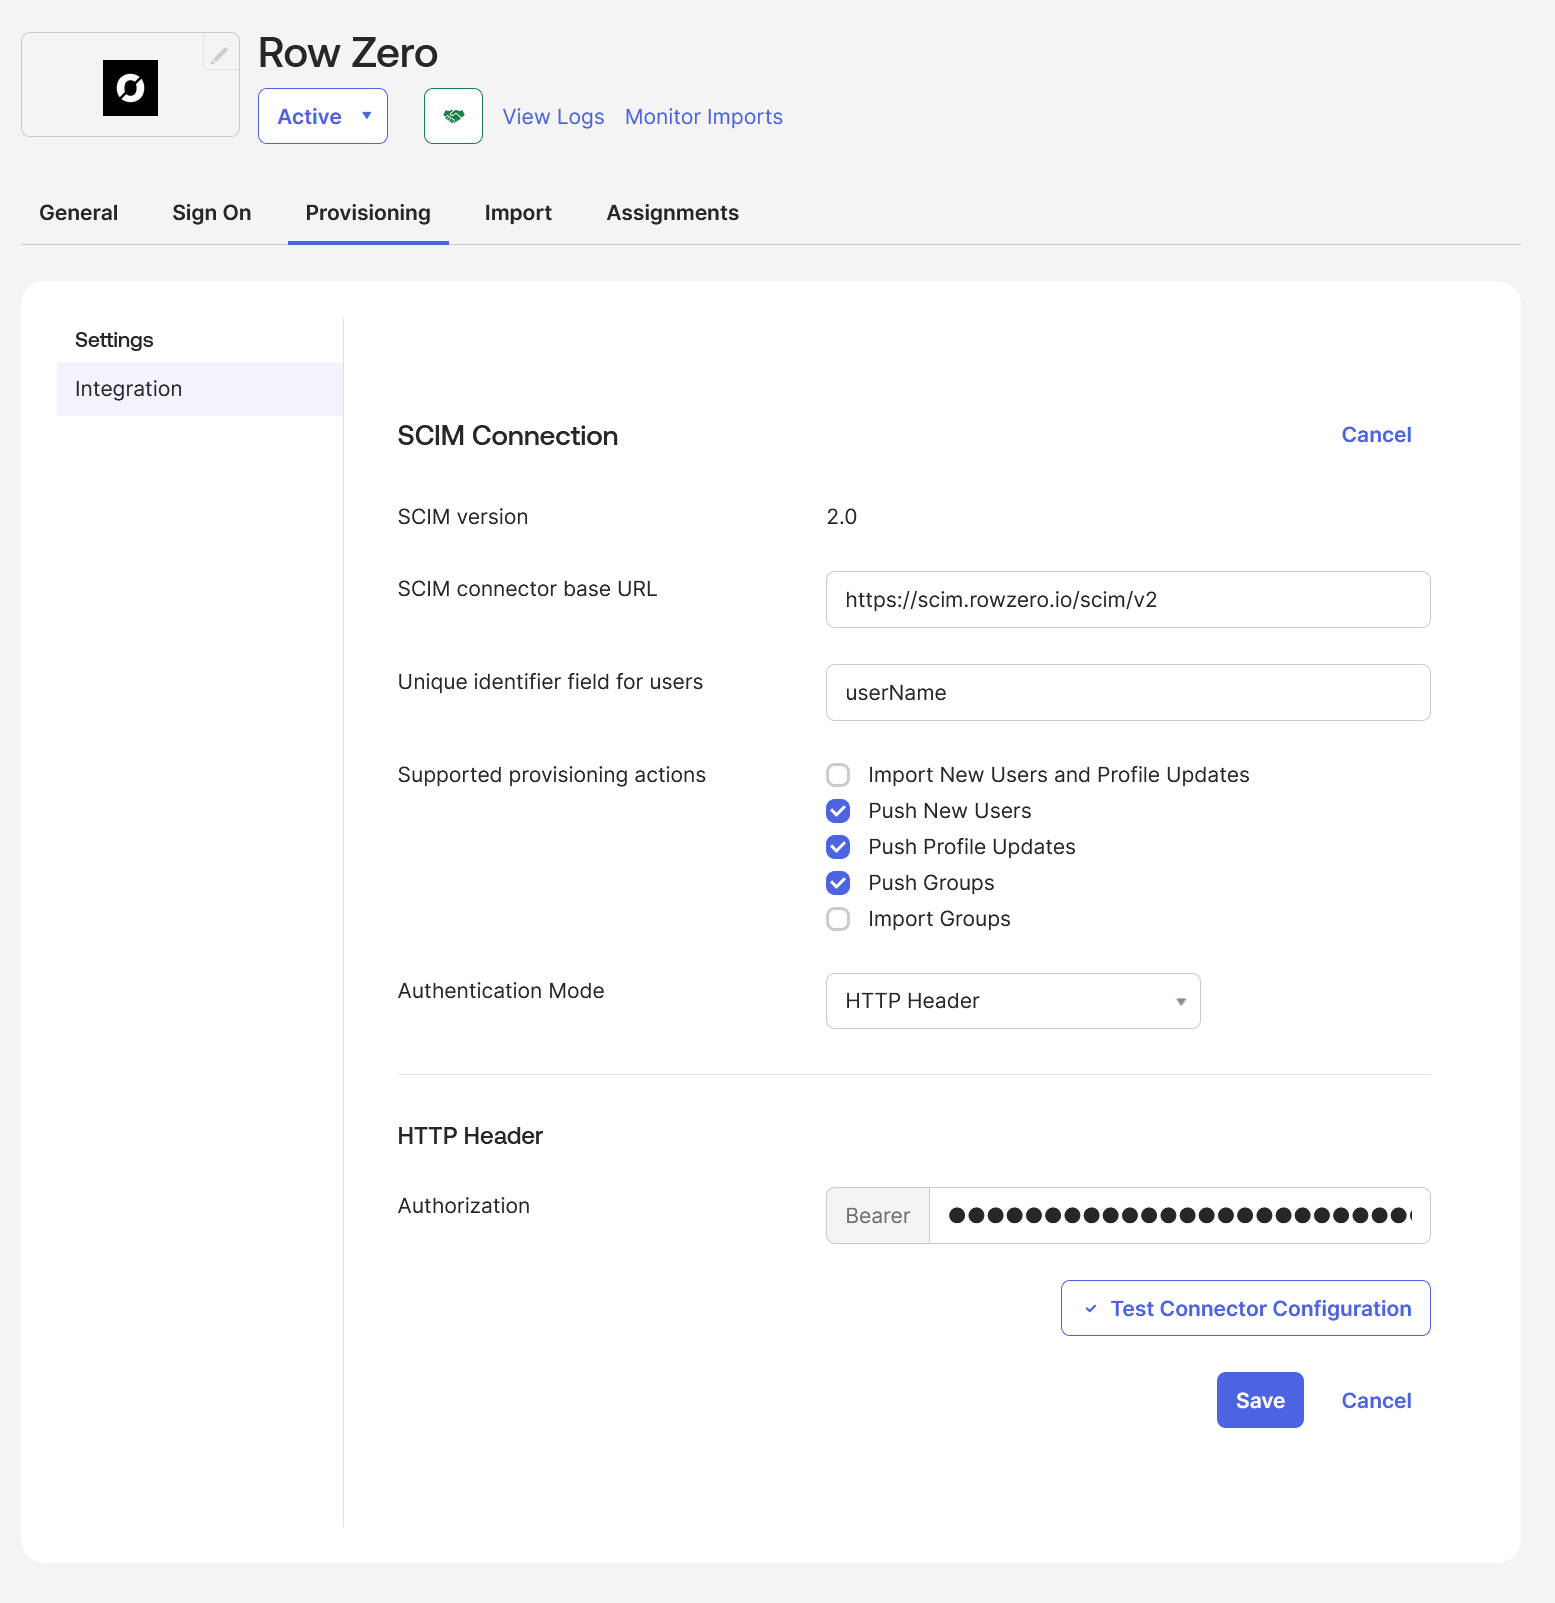
In the "Row Zero" application, on the "Provisioning" tab, click the "Edit" button:
- For "SCIM connector base URL" type "
https://scim.rowzero.com/scim/v2" - For "Unique identifier field for users" type "
userName" - For "Supported provisioning actions" select "
Push New Users", "Push Profile Updates", and "Push Groups" - For "Authentication Mode" select "
HTTP Header" - For "Authorization" enter the token provided to you by Row Zero
- Click the "Test Connector Configuration" button and verify success
- Click the "Save" button
- For "SCIM connector base URL" type "
Step 3: Enable User Provisioning Features
-
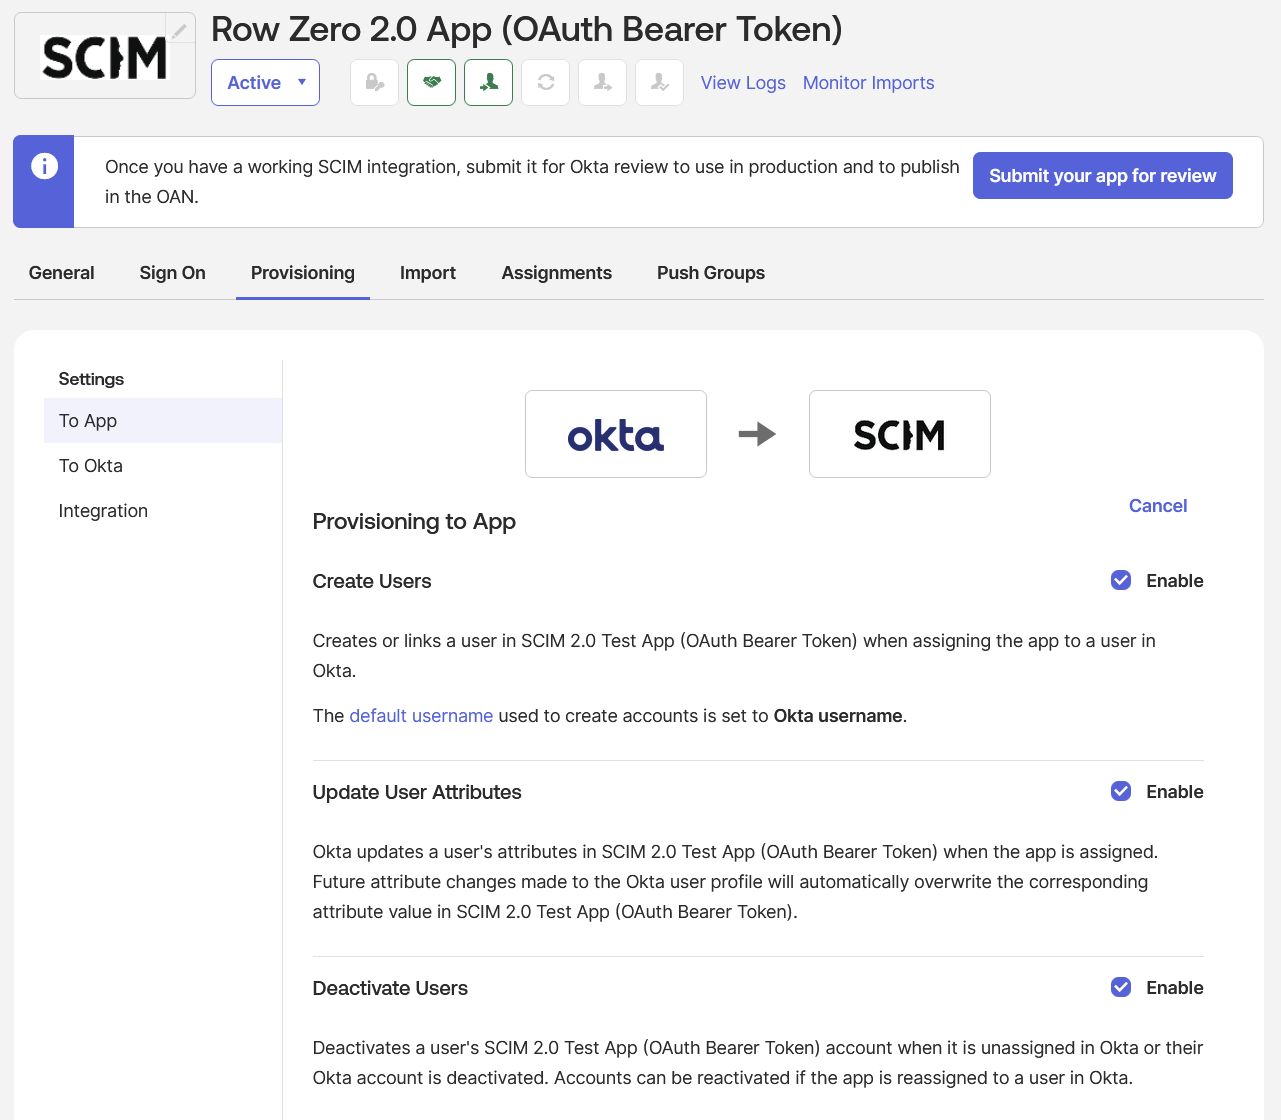
In the “Row Zero” application, under the “Provisioning” tab, select “Settings —> To App”:
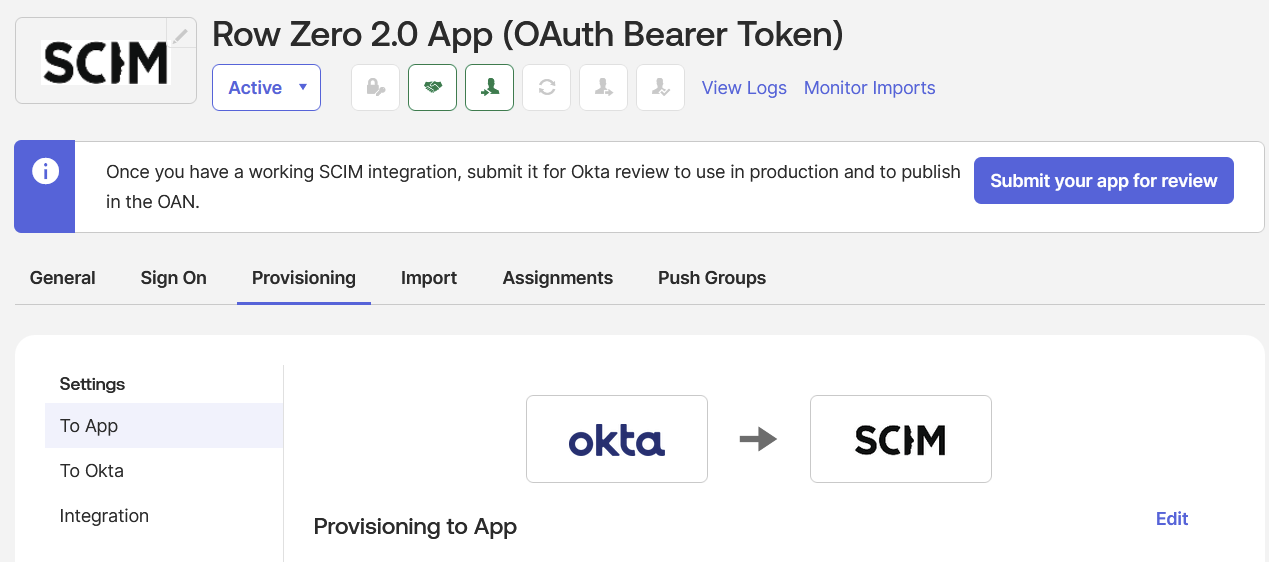
-
Click the “Edit” link, and select “Create Users”, “Update User Attributes”, and “Deactivate Users” checkboxes:
-
Click the “Save” button:

-
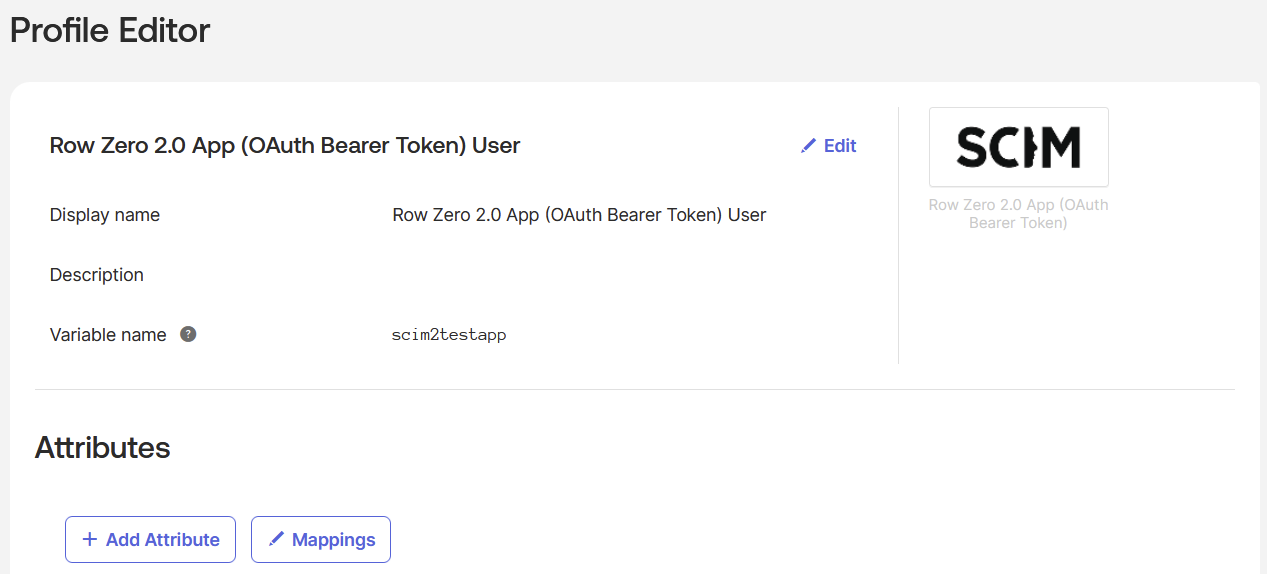
On the same page, under “Row Zero”, click on the “Go to Profile Editor” button:
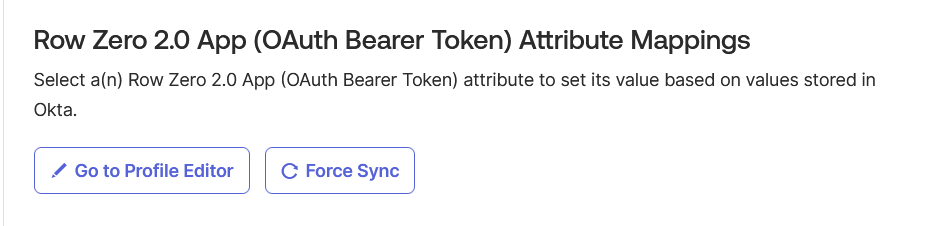
-
Under the “Attributes” section click on the “Mappings” button:
-
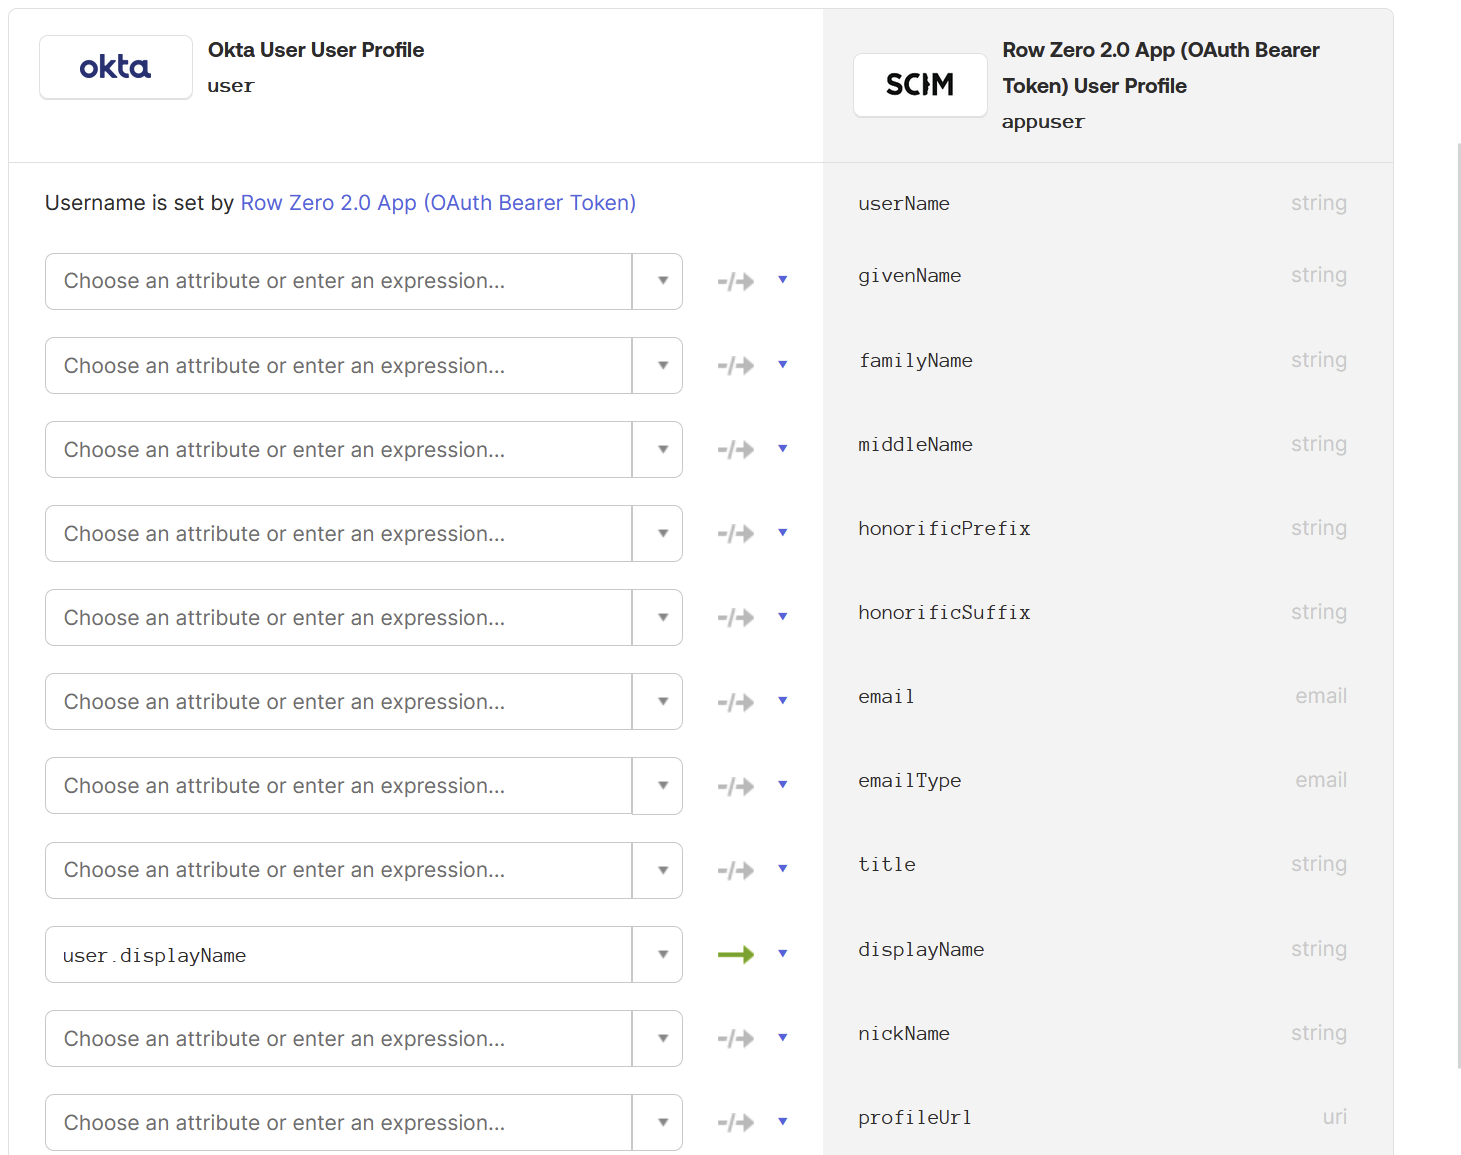
Select the “Okta User to Row Zero” tab:

-
Select “Do not map” for every mapping other than “userName” and “displayName”:
-
Click the “Save Mappings” button:

-
Click the "Apply Updates" button
Step 4: Assign Groups and Users
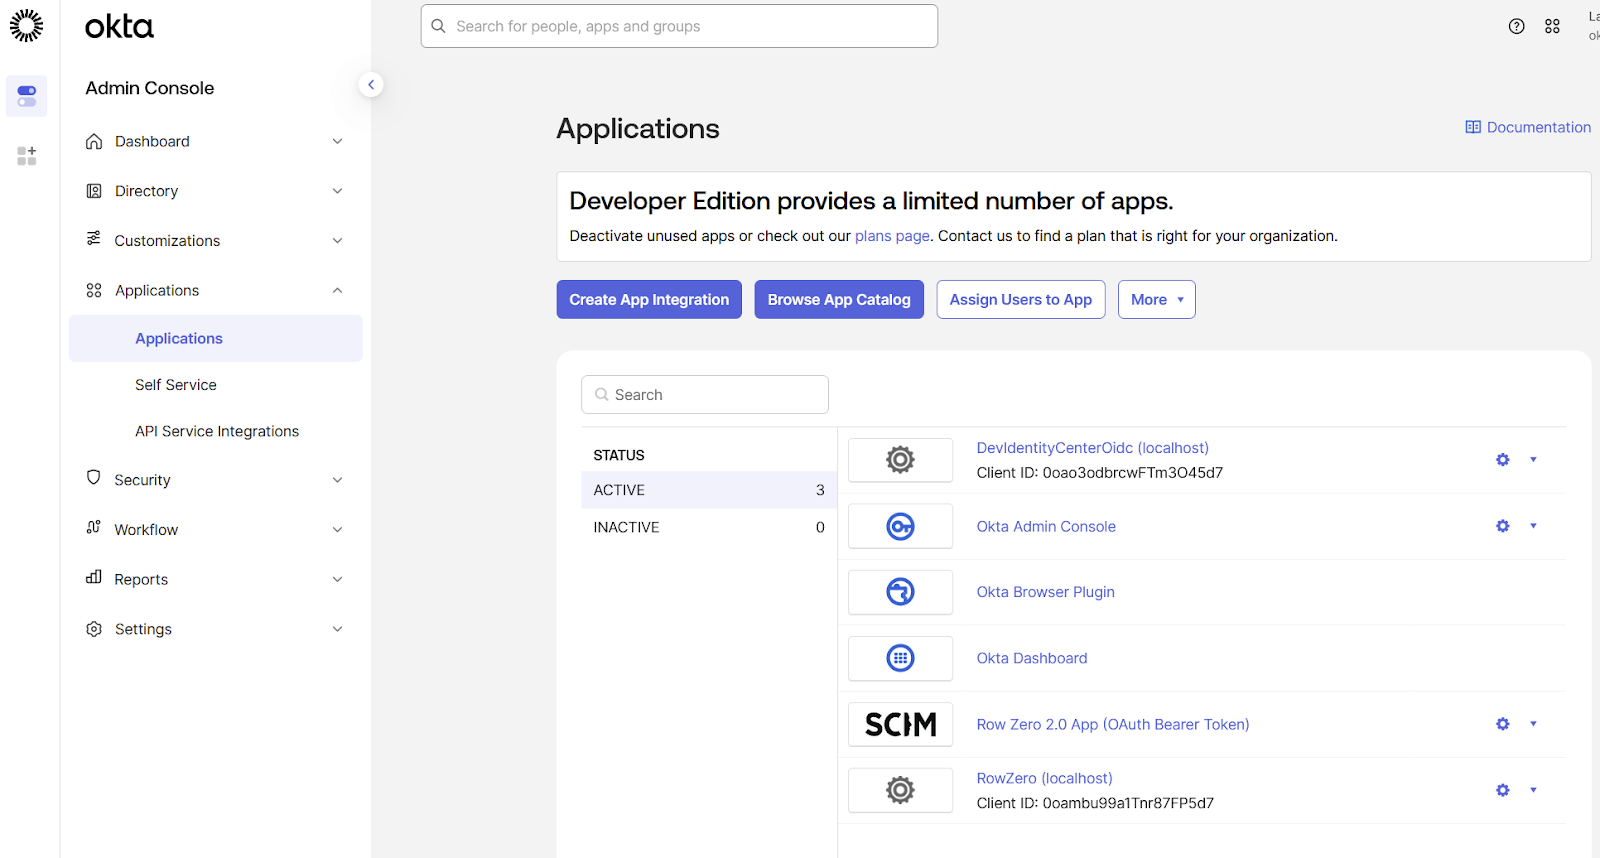
-
Navigate back to “Applications” → “Applications” and click on the “Row Zero 2.0 App (OAuth Bearer Token)” application:
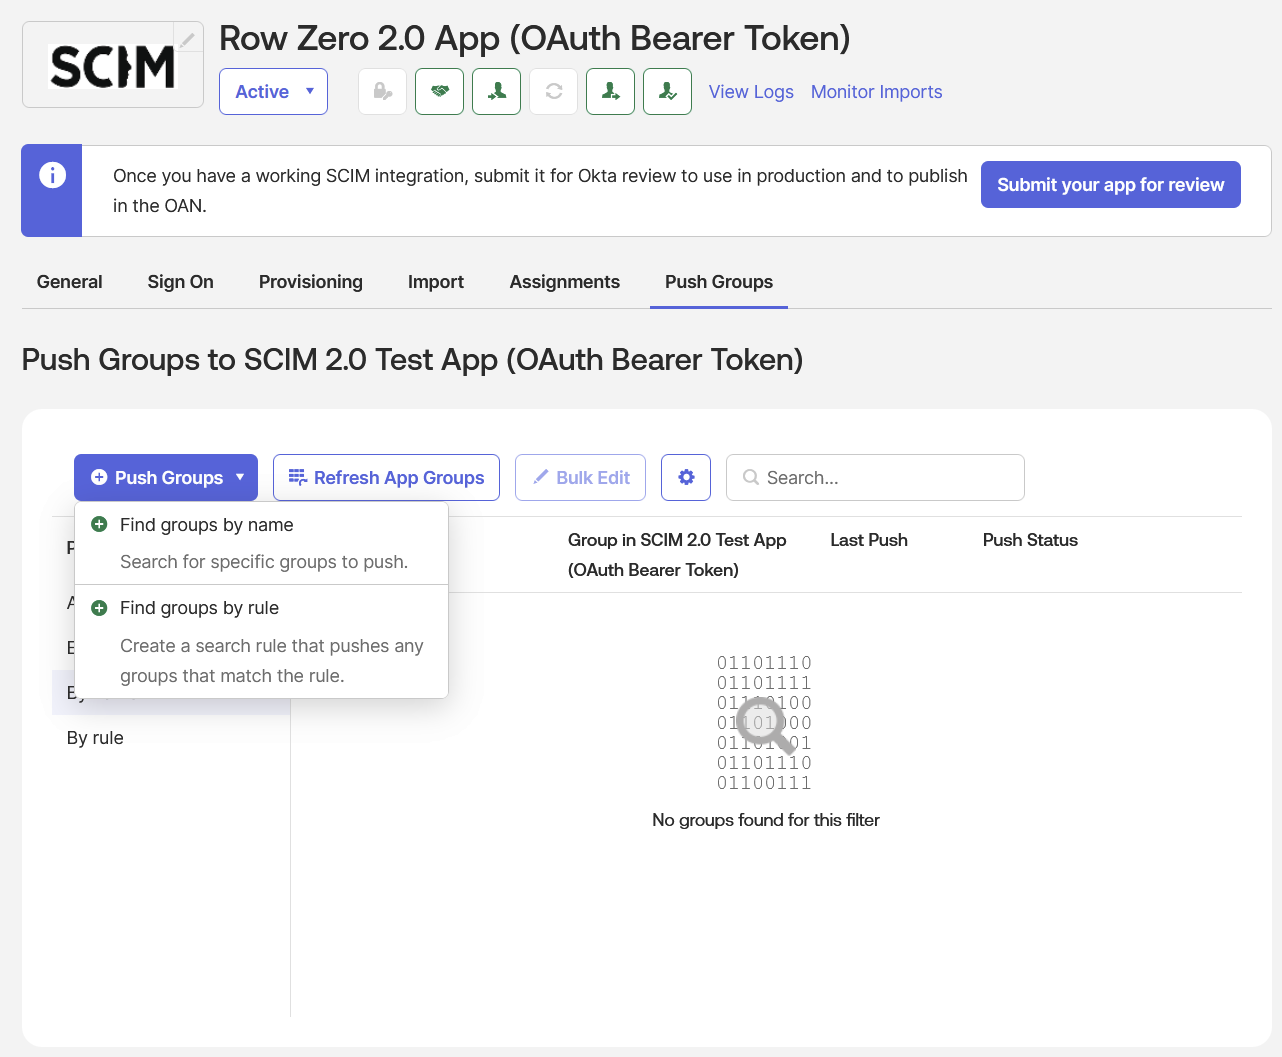
-
Under the “Push Groups” tab press the “Push Groups” button and select “Find groups by name”:
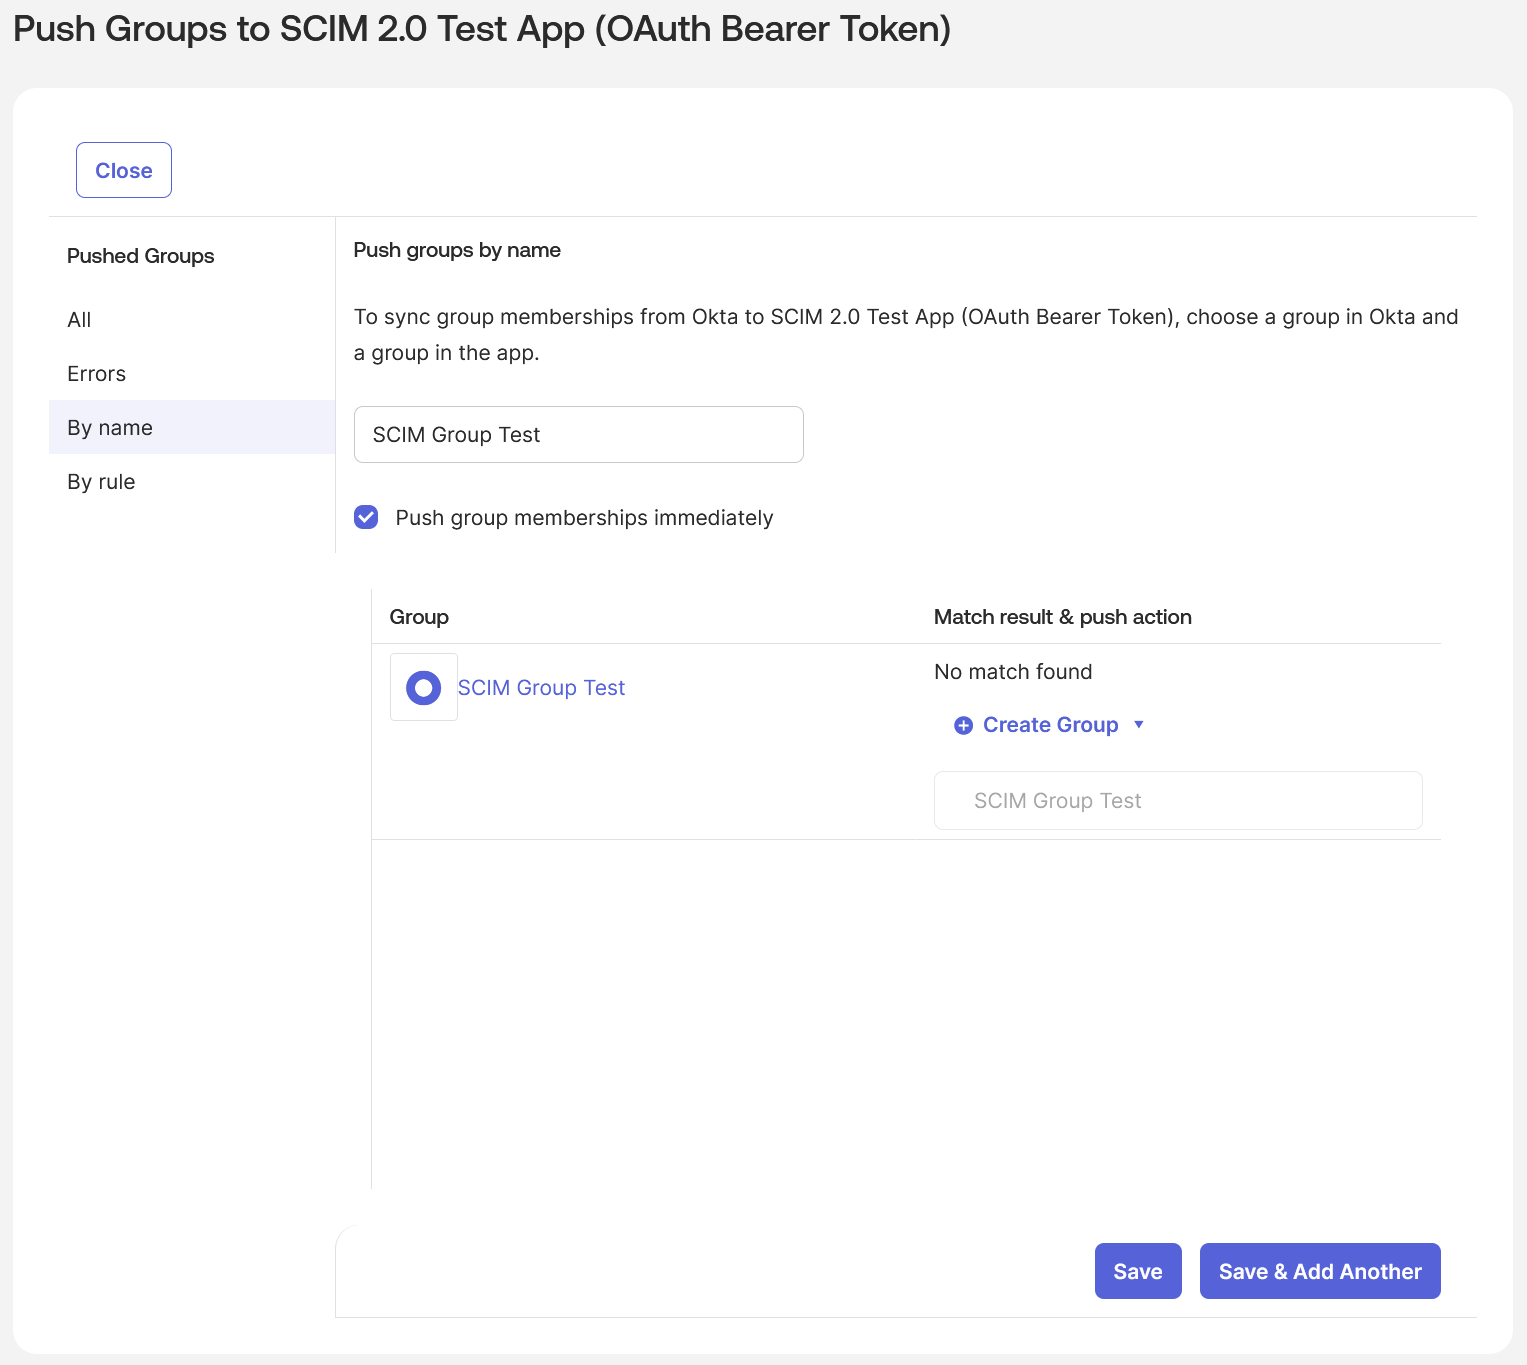
-
Select the “Push group memberships immediately” checkbox, enter the group name(s) you’d like to sync to Row Zero, and when done click the “Save” button:
-
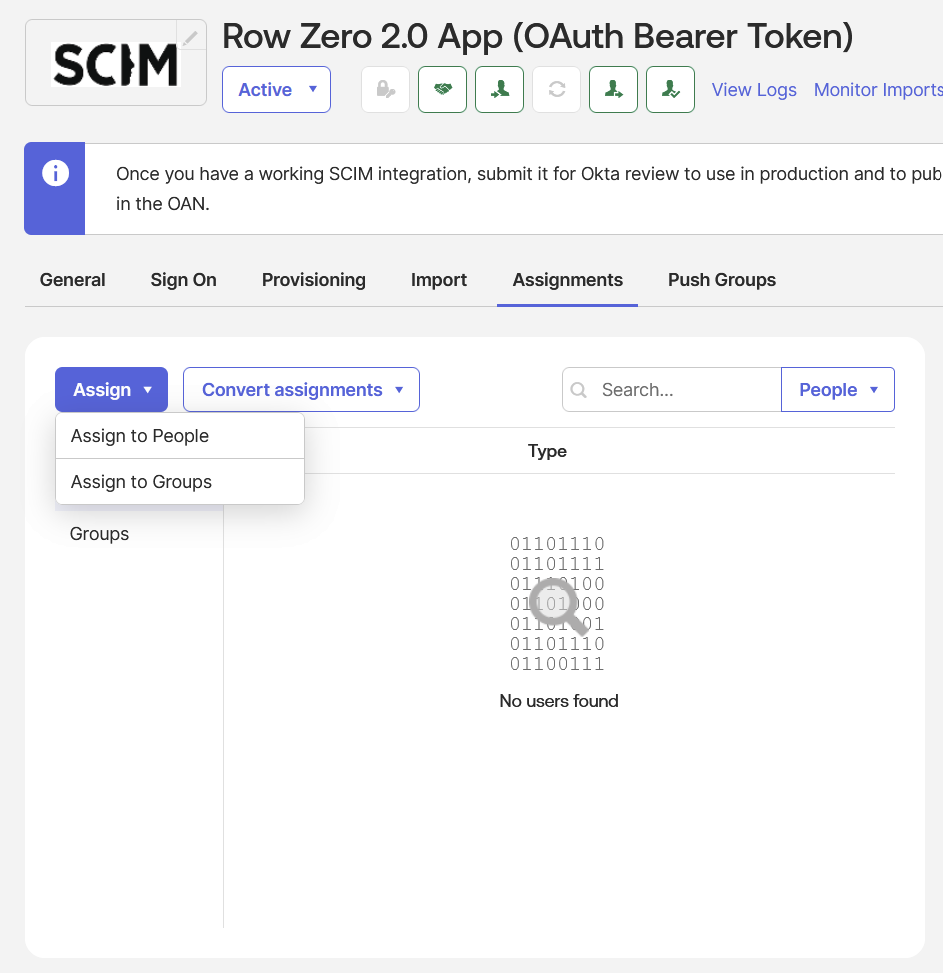
Under the “Assignments” tab press the “Assign” button and select “Assign to People” for any user in your application that could possibly use Row Zero in order to activate type ahead completion in the secure sharing feature:
-
Note: If Okta makes you populate the “Given name” and “Family name” attributes when assigning the user, populate them with relevant values; ultimately these will be ignored by Row Zero in favor of the display name.
-
-
Under “Assignments” tab press the “Assign” button and select “Assign to Groups” and assign any of the groups defined under the “Push Groups” tab:
- Note: The “Push Groups” tab tells Okta to sync the group records but not the group membership, the “Assignments” tab in relation to groups tells Okta to sync the members of the group.