Data validation and dropdowns
Data validation lets you control data input by enforcing specific rules or criteria. This helps improve data accuracy, consistency, and integrity when collaborating with multiple users.
How to add a data validation rule
-
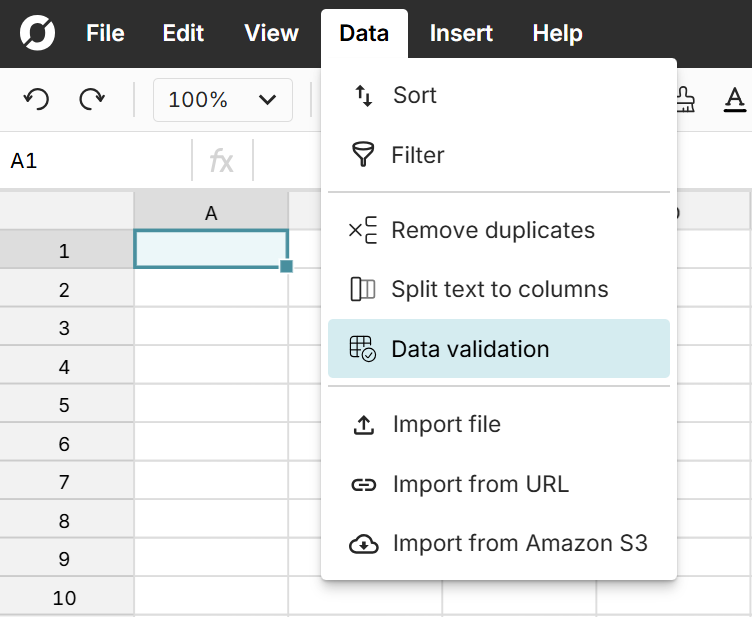
Select your range and go to Data validation in the Data menu.
-
Select your Condition and set the valid values or list options.
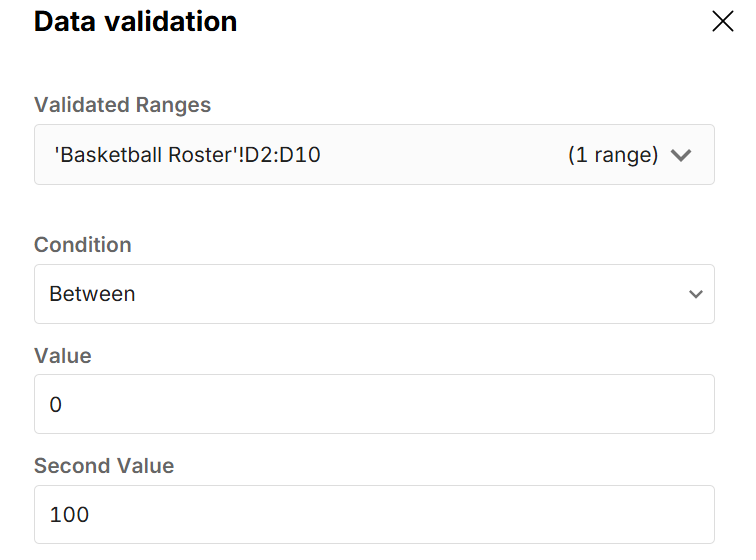
Available conditions include:
- Dropdown
- Greater than
- Greater than or equal to
- Less than
- Less than or equal to
- Equal to
- Not equal to
- Between
- Not Between
- Text contains
- Text does not contain
- Text starts with
- Text ends with
- Text equals
- Date equals
- Date before
- Date after
- Date between
- Custom formula
- Optionally use Advanced Options to set custom error messages or warnings when invalid data is entered.
Inserting a dropdown
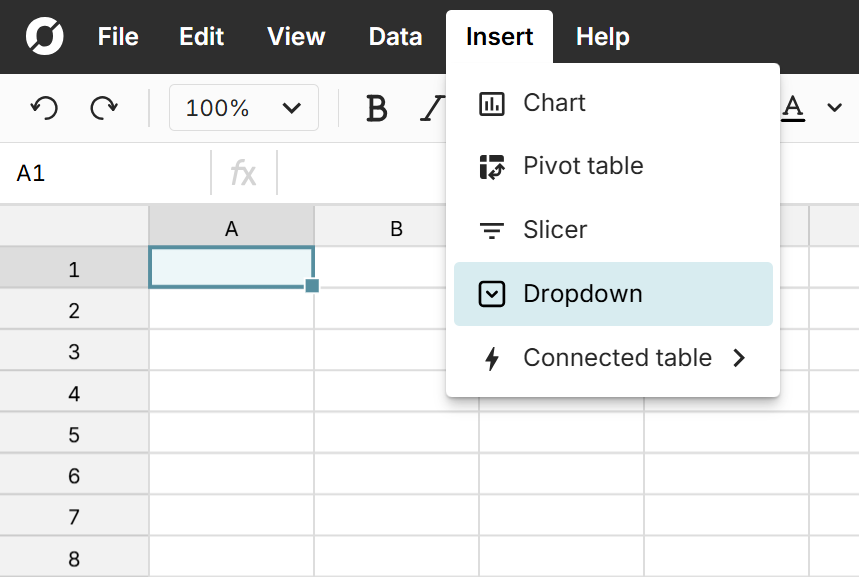
Dropdowns are a type of data validation. In addition to selecting Dropdown as a condition when creating a data validation rule, you can also insert a dropdown by going to Insert, Dropdown in the header menu.
Here's how to insert a dropdown in your workbook:
-
Select the range where you'd like your dropdown and go to Insert, Dropdown.
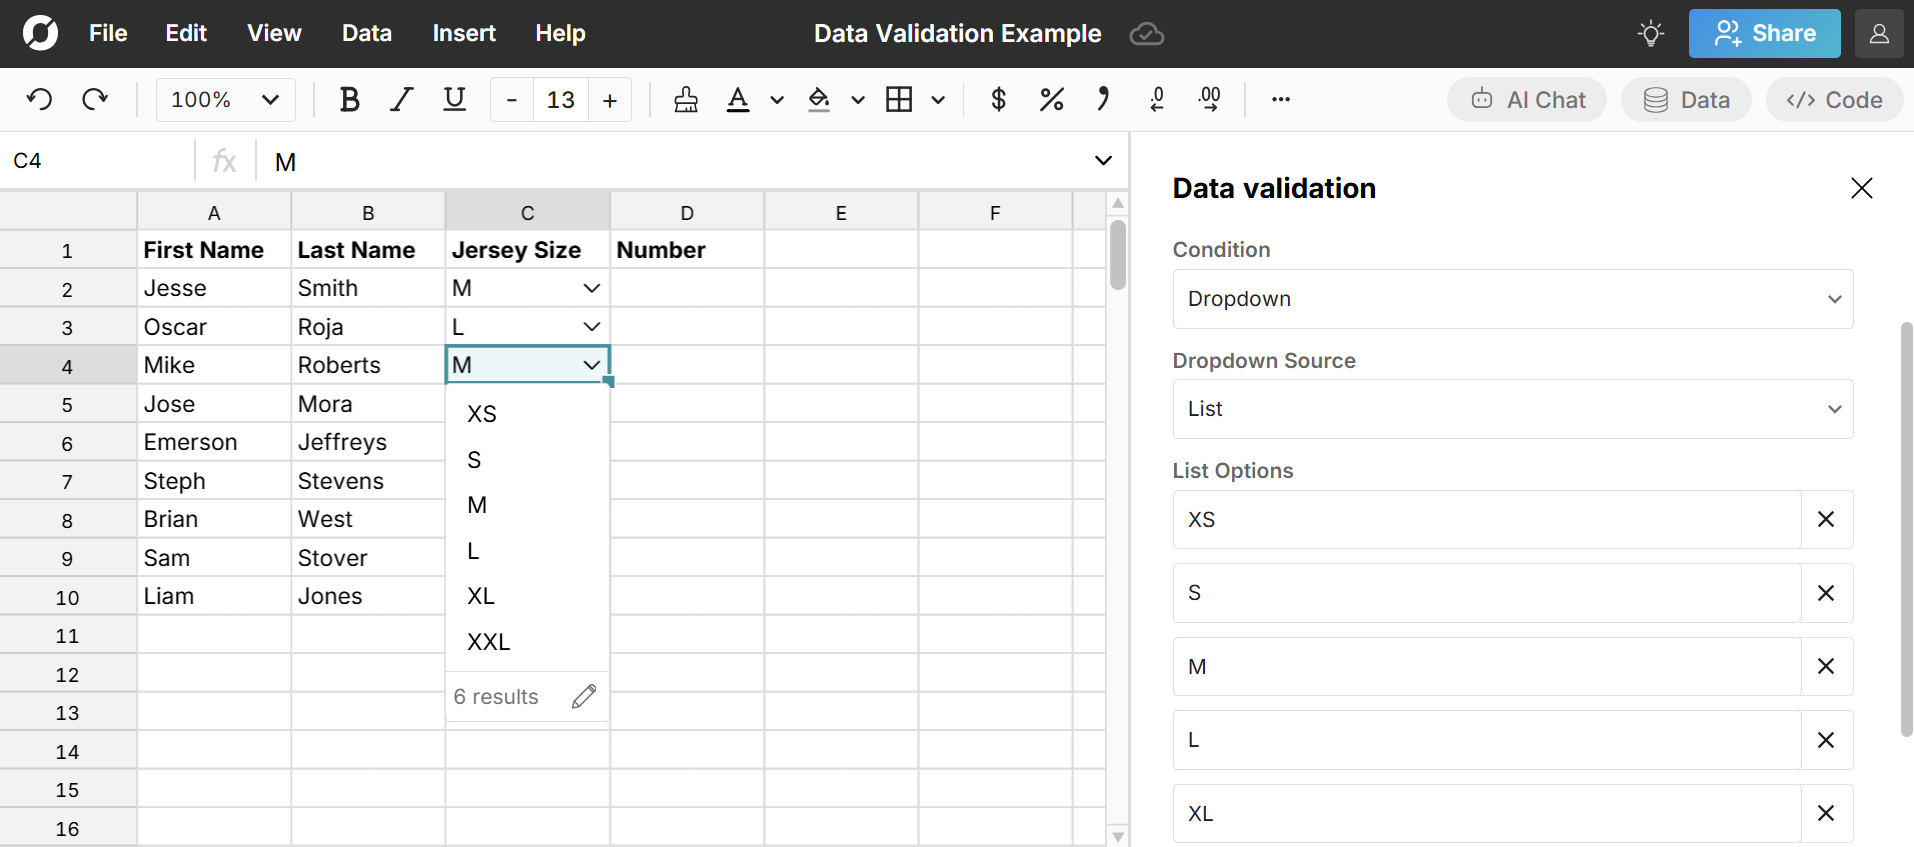
This creates a data validation rule with condition set to dropdown. List options are automatically populated with any values present in your selected range.
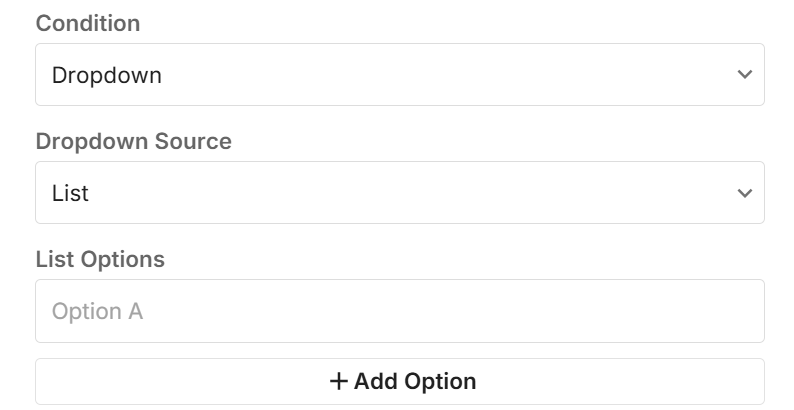
You can add list options manually, or you can select a range to populate the dropdown. To use a range, change Dropdown source to Range and then click the Select range input box to open the range selector. Select your range for dropdown options and click Confirm.
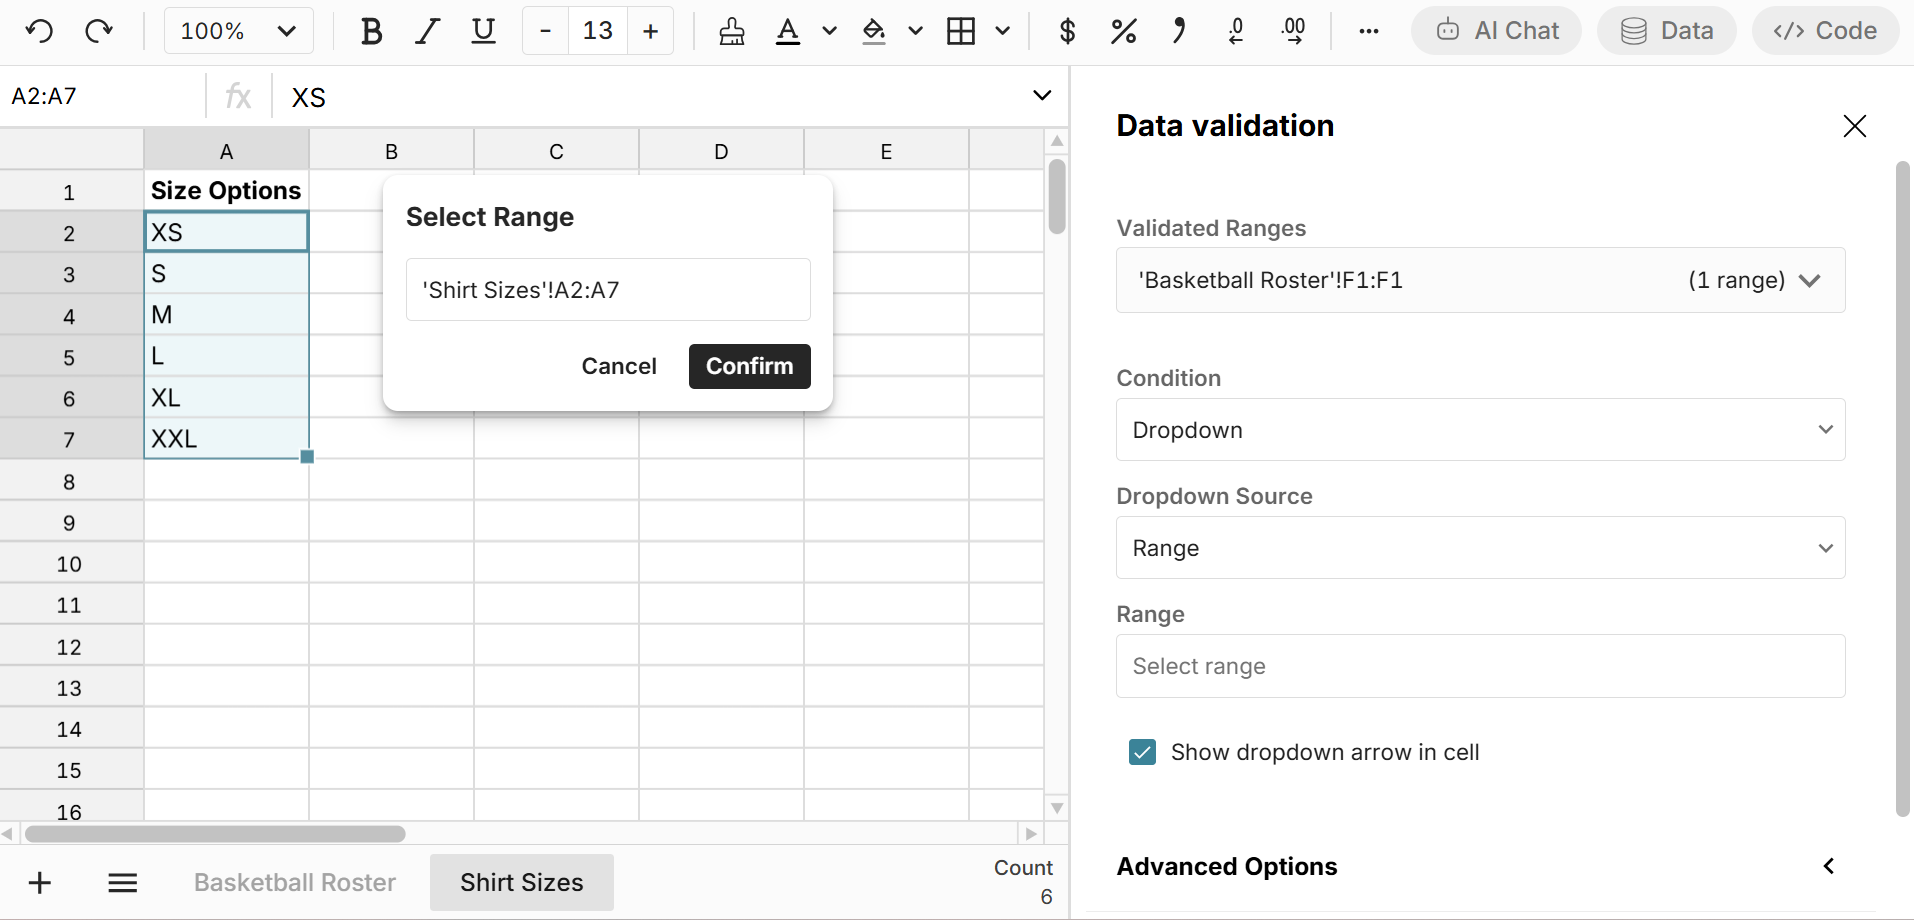
When you use a range as your dropdown source, the dropdown options will dynamically update as your source range updates.
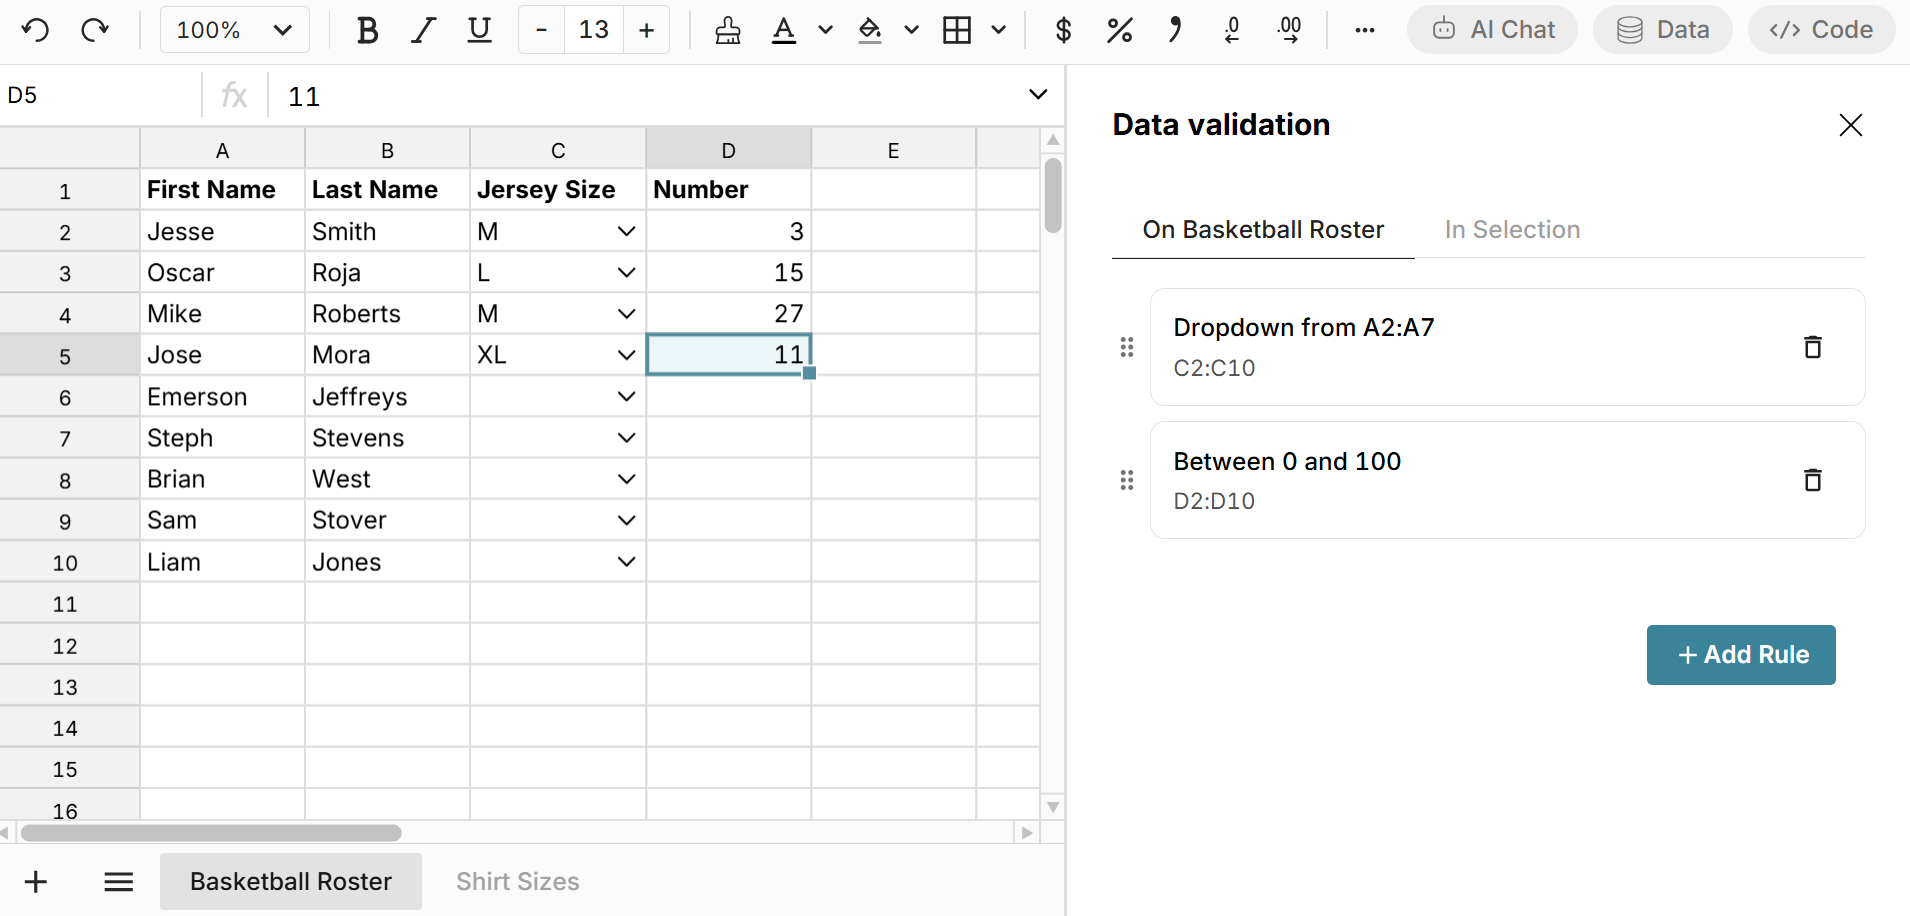
Editing and deleting data validation rules
View, edit, and delete any data validation rules on a sheet by going to Data validation in the Data header menu. Here you can add more rules and edit or delete existing rules.